Saturday, September 29, 2012

Lithops So Far

So far, so good with my new lithops. They've been in my care since April and remain alive, and that's an achievement. They seem just a tad tall and leggy-ish though...
....even in the most intense light down front by the window...
...where the southern sunlight is filtered by a white sheet.
This one is the farthest back and the tallest.
I'm pretty sure they want direct sunlight, however I just don't have it for them. For a reformed cactus-rotter like myself, alive after 5 months is real progress. Fingers crossed I can keep it up!


Update: I decided some further research was in order, and I found excellent cultivation info here, and here which suggest that tall lithops need more light. Best I can do without adding artificial light will be to move the taller lithops closest to the window. Their watering schedule seems to jive well with what I already do for the cacti they're planted with, but the chicken waterer is too shallow for the taproot they are said to develop. I'll address this next spring, for now I'll adjust lighting and see how it goes.

Sunday, September 23, 2012

Phalaenopsis Spike Pruning

Since my Phalaenopsis 'Happy Girl' quit blooming, her two naked flower spikes have responded  quite differently. One seems to be drying out all the way to the base...
 
...yet the other remains green below the brown tip that I'd pruned off several weeks ago.
 
According to the folks at re-Pot Me.com, "On most Phalaenopsis the bloom spike will turn brown after the plant is finished bearing flowers on a spike. It may not turn brown all the way down, however. One school of thought says to cut the spike above a node on the stem and allow the plant to rebloom again as a branch off the existing spike. The other school of thought says to always cut the flower spike off at the base when the blooms drop. Blooms take energy from the plant so cutting the spike entirely off allows the plant to gather its energy for an even more spectacular bloom in the future. Allowing the spike to branch results in more blooms sooner but takes energy from the plant resulting in often smaller blooms. In our collection we take the middle ground. For large plants with large root systems we will sometimes allow the plant to branch off an existing spike. For younger plants or those with less vigor we will cut the bloom stem at the base when the flowers drop."

Well I consider 'Happy Girl' here to be a large plant, so I'll take the middle ground too and cut one/leave one.


I cut the brown spike a few inches above the plant base, just to see how much green is left. Kinda moist, but definately drying out. I'll trim it all of the way to the base later.
Meanwhile this spike has some healthy green going on. It will be awesome if I get more blooms from here, and worth a try regardless.

This plant is definately healthy enough for me to experiment on...
...so far, anyway.
 

In  other orchid news, Tolumnia 'Tequila Sunrise' is blooming beautifully...
 ...small but very colorful blooms! It's in a clear plastic drip tray with the two cattleyas, which keeps their "feet" too wet for my comfort.
 So I picked up some vintage enamelware (which feeds my other habit :) and decide which to use.
 The smaller photo developing tray will do nicely, so I lined it with clean fish gravel for good drainage.
 And they all lived happily ever after!
I optimistically insist on it.

Wednesday, September 19, 2012

LED Update

Well the LED experiment has sort of fizzled. My Christmas cactus rotted (I mistakenly put water inside the soil of a moisture-wicking african violet pot, creating cactus soup), and the carnivorous plant seeds never did germinate. (Of course the ones in regular light didn't either, but I'm hanging onto hope with them). In here I was just over it.
 
 
Now the lonely pothos has the wardian case all to himself.


Still growing nicely, though not exactly huge.
For now this is all I'll grow under the LED's. Later I'd like to buy two of another type of plant at the same time and equal in size to do a more "scientific" comparison. I would try with my two cattleya orchids who are similar in stature, but I'm terrified not willing to sacrifice any orchids at this point. My orchid-growing "success" is tenuous at best, and I just can't mess around with it. Bad mojo. I need all the good orchid mojo I can get, people.

Saturday, September 15, 2012

Orchid Mania

I love orchids. They are beautiful, long-lasting, often fragrant bloomers. For myself and many other gardeners they seem impossibly challenging, yet we feel drawn to them just the same.
 
 
I must confess that I've also been an orchid killer. Serial killer even, by sheer numbers. But that was then...

...this is now. For some reason, the sheet-filtered, southern exposure light in my apartment has been a haven for this lovely Phalaenopsis 'Happy Girl' (helping her live up to the name).
When I purchased this orchid on March first of this year, it had a couple flowers and several buds (some of which fell off promptly after the trip home from the store.)
In its' blooming heyday this past June, it looked like this....
...with the final bloom just dropping off on August 31st!
Bolstered by this success I got excited and bought 8 more orchids to try not to kill grow and enjoy. One purchase, Miltassia 'Kauai's Choice Pacific P' had arrived stuffed into a small plastic pot and needs a new home. Thus begins the apothecary funnel orchid planter experiment. This big glass funnel was an Ebay purchase billed as a "Vintage Glass Hanging Apothecary Mortician Embalming Funnel"...I just thought it was cool as hell. It measures 13 1/4" tall, with the mouth being approx. 5 3/8" in diameter, and I felt that the funnel could help to keep my overwatering tendancies in check. (Plus it comes with this metal hanger and will look wicked cool with my other plants! :)
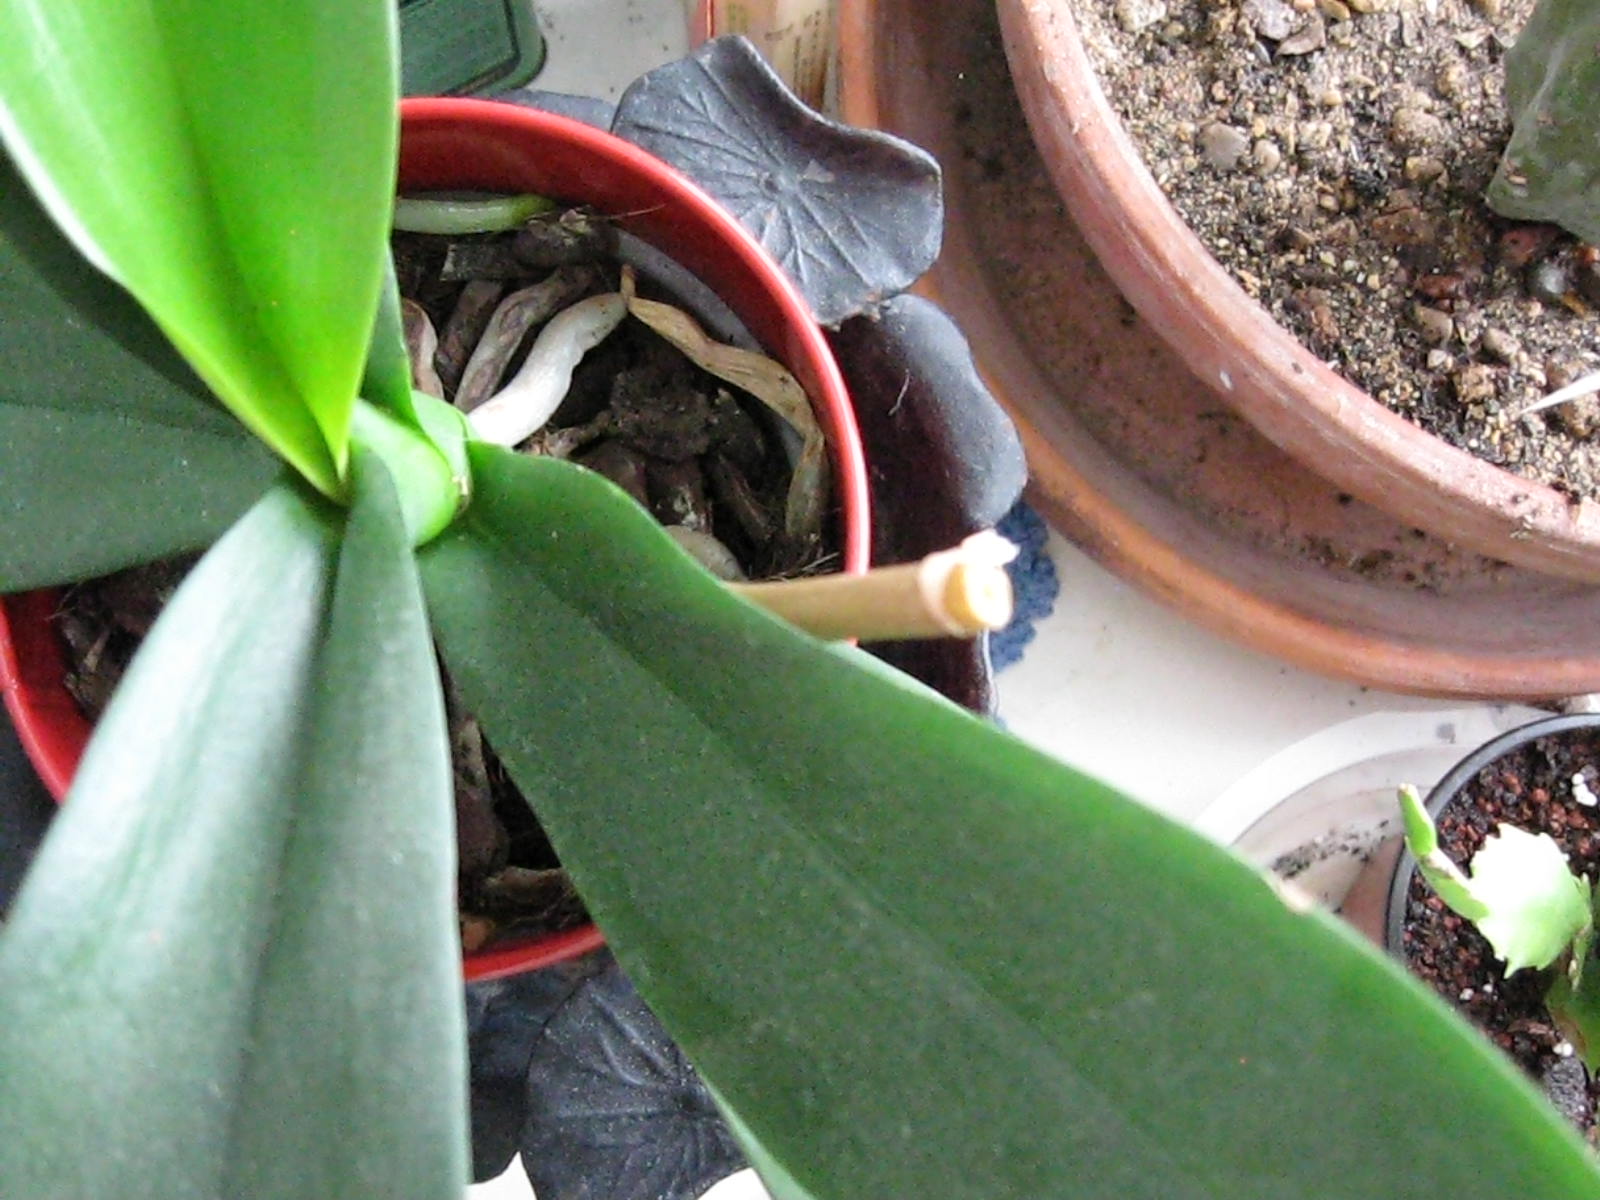
The orchid to call this funnel home. Has some dead stuff I'll trim off, but otherwise seems healthy and good to go.
My potting supplies include green moss (sphagnum), distilled water, and spanish moss...
...along with a "large chunk orchid mix" I bought on Ebay. I pre-soaked the mix and some sphagnum moss in distilled water before potting (chunks overnight and moss about 15 minutes).
I began the layering with the dry spanish moss to promote drainage and airing out...
...then a layer of the potting mix...
...which is comprised of pine bark, clay aggregate and volcanic ash rock in chunks from 1/2" to 1".
Atop this layer is some of the wet sphagnum moss...
...then more chunks and so on like a parfait...
...with and orchid on top. There are two bulbils so I spaced them out a bit.
There! The excess moisture will drip out into this enamel photo developing pan containing another orchid, Cymbidium 'Suzie Q'. I'm keeping Suzie fairly wet because she's a terrestrial orchid and I tend to let these (like carnivorous plants) dry out too much. So I'm banking that handling them equally may be my key to success (or not, whatever :)
I have the orchids way at the top so that they can dry out some, and yet send roots lower into more moisture as they wish.
The rest of my orchid population include (from left): Tolumnia 'Tequila Sunrise', Cattleya 'Hawaiian Passion Carmela', and Cattleya 'Summer Spot Carmela'.
Tolumnia arrived in spike and the bloom buds seem to have survived the trip.
 I found it difficult to resist some well priced mounted orchids too. This is Brassavola nodosa, the fragrant 'Lady of the Night' orchid...
 
 ...and Oncidium 'Aliceara Alice' mounted on Cork Bark...
...and finally Maxillaria Tenuifolia Mounted on Driftwood.
Several bulbils here, and they can all be propagated into more plants....
...but for now I'll leave well enough alone (lest they begin to fall ill or succomb to the deadly touch of the rank ameteur orchidist). Only time will tell....