Sunday, November 11, 2012

From Worm Farm to Worm Condo

Sometimes you just have to downsize, and that time has come for my worm bin. Hard to believe, but I've been raising worms in a bin that I made from plastic storage containers since 2006! The plans I used to build my original bin are here, and the posts I've done over the years are here. Since relocating to an apartment I am shorter on space, so I've decided to switch to a store-bought worm bin that's more of a "tower" in configuration. They run about $100 online, but after shopping around I got mine plus extra trays/levels for less than that (mostly on Ebay.)
 

Here's the setup, it even came with a brick of coir and this handy rake.

Cute worms on the lid (in case you forget what's inside :)  I like the shape of the lid too, my cats can't really lay on it comfortably (even if they do, it won't really push down on the worms like the lid with my old bin.)
It has this handy nozzle for draining off leachate, which is filtered by the cloth you see sticking out above. The cloth helps prevent worm drownings, too.
Hole size seems well-suited for worm migrations between levels...
...the holding area for leachate has an adequate capacity as well.
Okay, time for assembly now that my assistant Gizmo is here to help =^^=
For this first tray I decided to put down wet paper towel in the bottom to keep bedding and worms from falling through right away. The leachate should still drain through just fine....
...there!
Now I put down a layer of moist coir...
...then I turn to the homemade bin for some wormy tenants.
There they are! The moisture level in this old bin is too high, and that will be addressed later.
So I scooped out a layer of worms and their bedding from the old bin, about 2" deep. I tried to include plenty of un-eaten foodstuff too, so they have something to eat as my newer food scraps break down enough to be edible to the worms.


Then I add a sprinkling of a "fattening mix" of food that I created, based on suggestions from several worm forums. The mix I came up with is: 50% "flock raiser" pelleted chicken feed, 10% unbleached wheat flour, 10% powdered whole milk, 10% wheat germ, 10% crushed eggshells (rinsed and dried before crushing), and 10% corn meal. I would recommend drawing your own conclusions from some research, as I am not an expert or pro by any means.
Then I added another layer of coir....
...followed by some too-soft-to-use potatoes.
I put a few in the old bin too, along with some compostable cellulose packing peanuts. I'd never added these to a worm bin in the past, but I figured that being plant cellulose they can't do any harm (hopefully)!
My new bin will be housed in the bathroom for now, until I can figure out what I want to do with the old bin. I thought I might put it on "Freecycle", but I'm not sure how many more years are left in it. I may just take it back home and dismantle it there.
Then I added corn husks....
...coffee grounds....
....and more coir.
Let's see how the worms enjoy their new "digs" (pun intended :)

Sunday, October 21, 2012

Houseplants Update

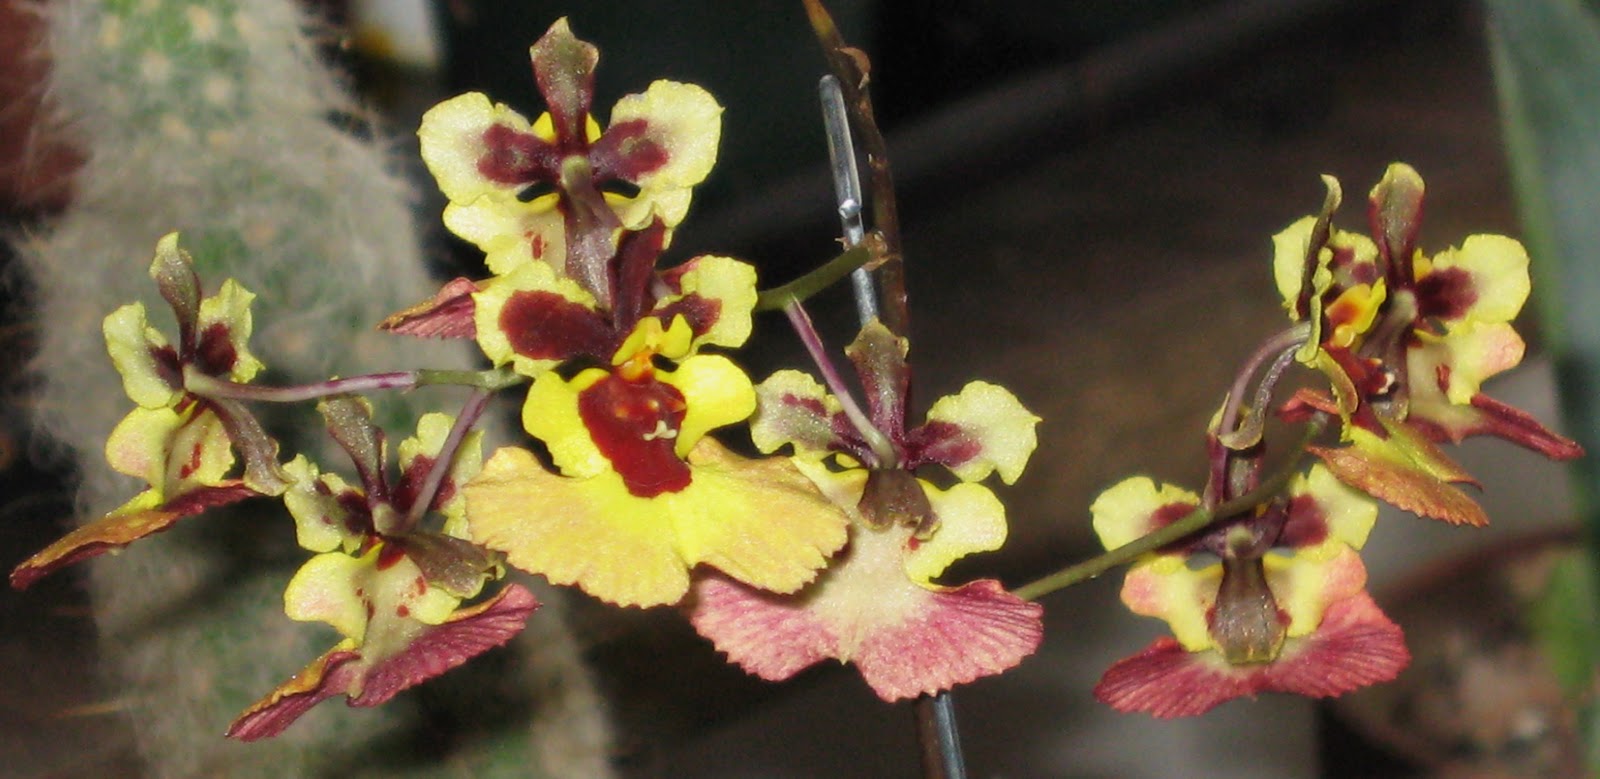
My tiny tolumnia is blooming beautifully...
...so many pretty flowers....
...on such a teeny orchid.
I relocated the lithops so they're all as close to the window as possible...
...and finally got all three of my new Christmas cacti planted up.
They say stolen plants grow best, so I hope this nice vine that I "acquired" will follow the logic.
I'd acquired a couple more recently, and they are rooting well in this cup of water...
...now all the "contraban" can keep each other company.
Back on September first, I was at my wit's end trying to keep my Orchid Cactus (Epiphyte) 'Raspberry Ribbons' alive, so I put a piece in this yogurt container and set it in with my carnivorous plants to see if bog-like conditions would help.
Turns out it did!
The mother plant was placed into this moisture-wicking african violet pot. While not thriving, it's still alive so for now I'll go with it. May as well try two different methods and see what happens. The reasoning behind trying some altenative growing conditions is to try and keep plants alive that I've routinely murdered in the past. Regardless of conventional cultivation wisdom, I have to find out what works for me-in my "got busy-musta forgot-oh crap I spaced watering and now it's dead" lifestyle. Needless to say, these methods may not work for you. And if I lived in an area with higher ambient humidity they may not work for me, either. But I gotta deal with here and now, such as it is.
So happens that my african violet is quite pleased with here-now, and is blooming again.
 
The funnel orchid project has flamed out already, it began the other day when I suddenly smelled mold in my plant room...
 ....there it is. I kinda suspected this may happen when I made my orchid media "parfait" layers. Not enough air gap for sure, I should have used larger chunks of media with no moss.
 
 This poor orchid will hang out here until I come up with plan B....
...I hope it survives long enough!

Sunday, October 14, 2012

Minnesota Bugs

You can take the bug-loving gardener out of Wisconsin, but she'll still check out the local insects no matter what. So far the most populous insect in the Twin Cities seems to be this Eastern Boxelder Bug, Leptocoris trivittatus...
...they gather in large numbers every fall and make their way indoors, the same way asian lady beetles do at my place in Wisconsin.
This exquisite creature is a Daring Jumping Spider, Phidippus audax, found in the garden gazebo at work.
She didn't think much of the attention I was paying to her, and preferred to hide. My what big eyes you have!
This beautiful moth was resting on the building at my workplace, in broad daylight.
After much research I've concluded this is an Ash Tip Borer Moth, Papaipema furcata (the name doesn't do this pretty thing justice, IMO).
And this poor battered butterfly is likely a Red Admiral , though it's hard to tell with those tattered wings.
The variety of nice insect life in this area has helped me feel more at home for sure, but I still miss my home and gardens. But as my "about me" says-Wherever you grow, there you are. So here is it, for awhile, until whenever. Me and my new bug friends will be just fine regardless :)

Thursday, October 11, 2012

Porch Annual Baskets

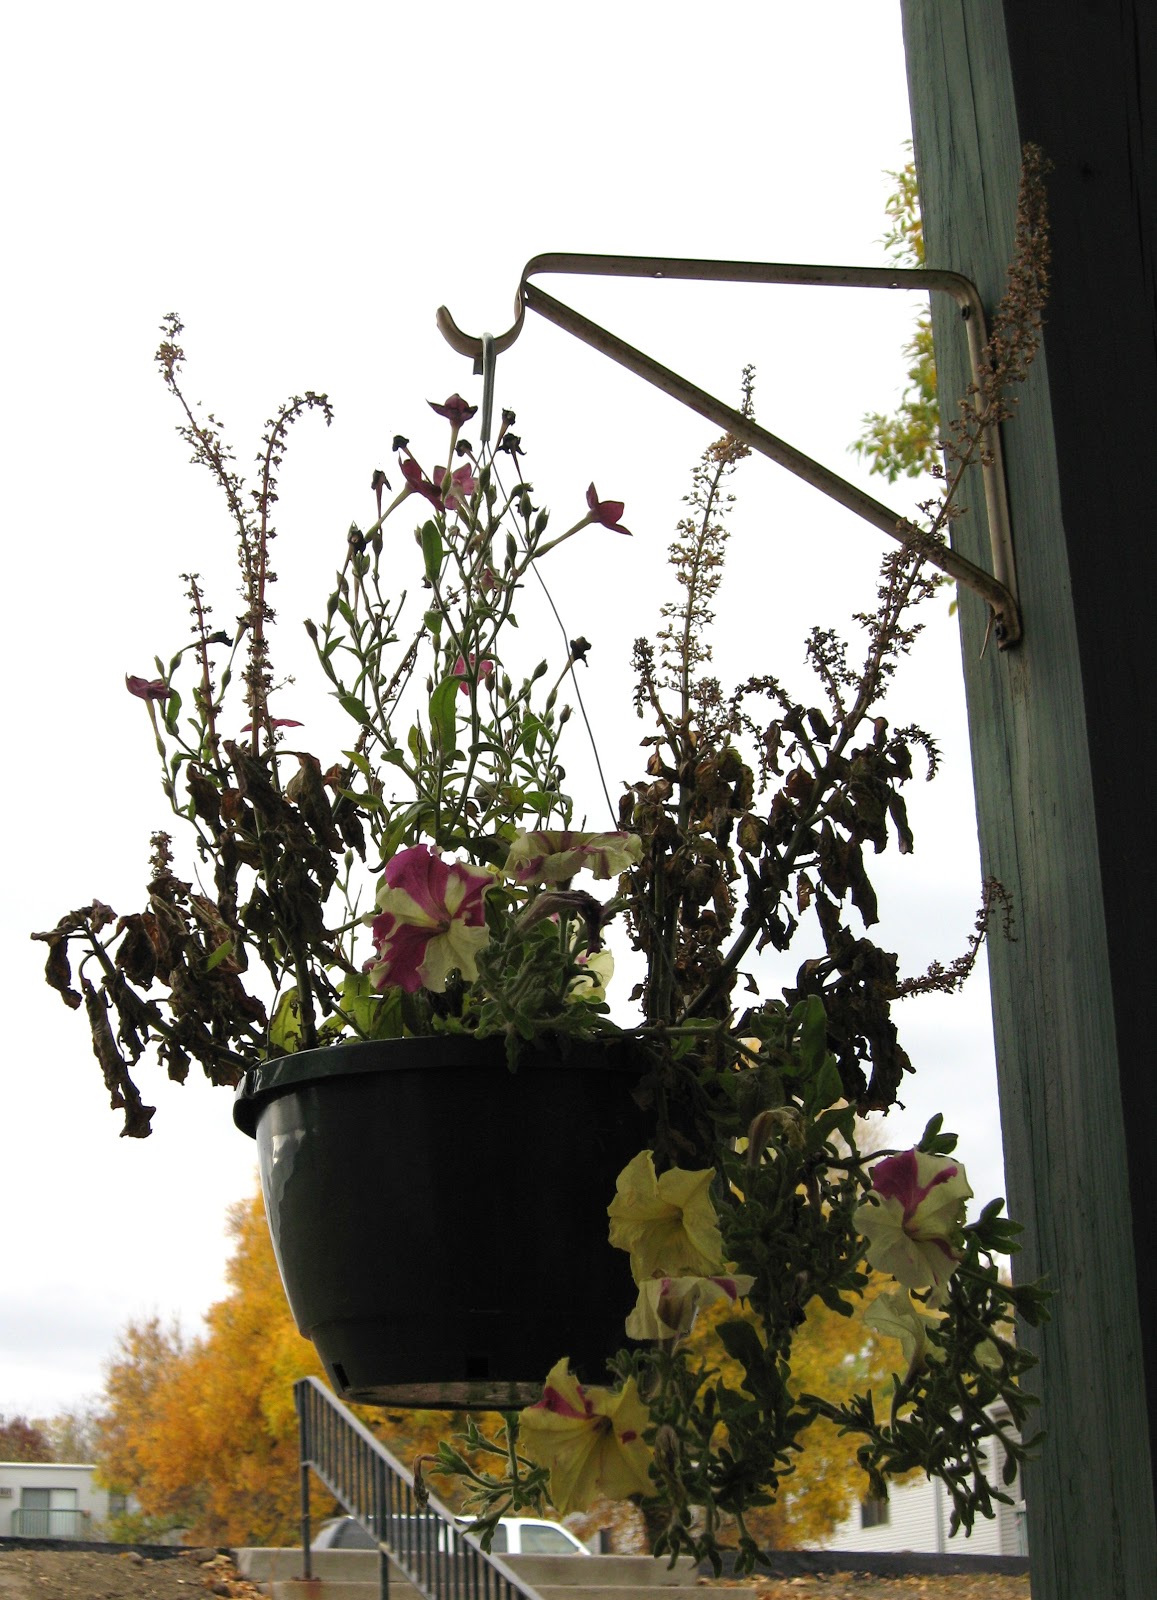
This year my botanical obsessions have been largely satisfied with houseplants, but not entirely. I had two hanging baskets outdoors to test the sunlight intensity on my porch (as well as the security of my apartment complex). Starting mid-May, I planted one basket with flowering tobacco, coleus, and petunias...
 
 
...and the other with two coleus and this Parrot's Beak 'Amazon Sunset', which had a picture of the red, tubular, hummingbird magnet-looking blooms that I hoped it would be covered with very soon.
Thay didn't look like much at first, but that's my favorite part of annuals-watching them grow and fill out the planters. If I go for the "instantly lush" look, it feels like cheating (or at least spoiling the surprise.)
Besides, there's still enough instant color for my tastes.
By September the baskets are certainly filled out...
...with plenty of color. Well aside from the parrot's beak, that only managed a couple meager orange flowers all summer. Meh.
There are even several volunteers/escapees on the ground below, too.

Although combining the spotty coleus with the stripey petunias kinda reduces the impact of both. But hey, more color is all good as far as I'm concerned.
 
 Peak color and fullness was in August...
...especially for the tobacco.
 
 
 By October 9th the coleus are done in by an evening cold snap, but the other plants are hanging tough...
 
 ...even the tobacco which usually dies back fairly easily for me. Coleus are doomed by all the water in their stems, so it doesn't take much cold for them to give up.
Now to see how long the rest can last...