Showing posts with label worm bin. Show all posts

Sunday, January 12, 2014

Worm Bin Tower is Growing

Worm Towers is adding another level! I have three more trays to add before I'll have to empty the bottom tray of castings and start over. Several worms on the lid...


 ...including hatching eggs and babies! Cool!
 
 
I let this tray get a tad over-filled, oh well...

 
...I'll just add the new tray right atop the contents.

 
Put some dry shredded paper in the new tray. Seems very dry for now...

 
...but this watermelon rind will bring the wormies right through the mesh to this level-they LOVE melon!


More shredded paper atop the melon, it really gets moistened quickly by the worm activity.

 
There! Kinda wonky for now....

 
 ...ideally the levels would be a little more even. Luckily there are no building codes for Worm Towers...
 

...and as it gets taller I'm hoping it won't matter. I'm not sure how much the levels weigh or how strong the legs are, but I guess I'll find out. Luckily my tenants don't have any wormy litigators if there are housing issues  :)

Saturday, October 12, 2013

Worm Bins Update


I haven't blogged about the worm bins in awhile, but they're still going strong. In fact, the tower bin is almost ready to add another level.

 
Still plenty of activity on the lid, but no sign of a mass exodus-the worms are happy.

 
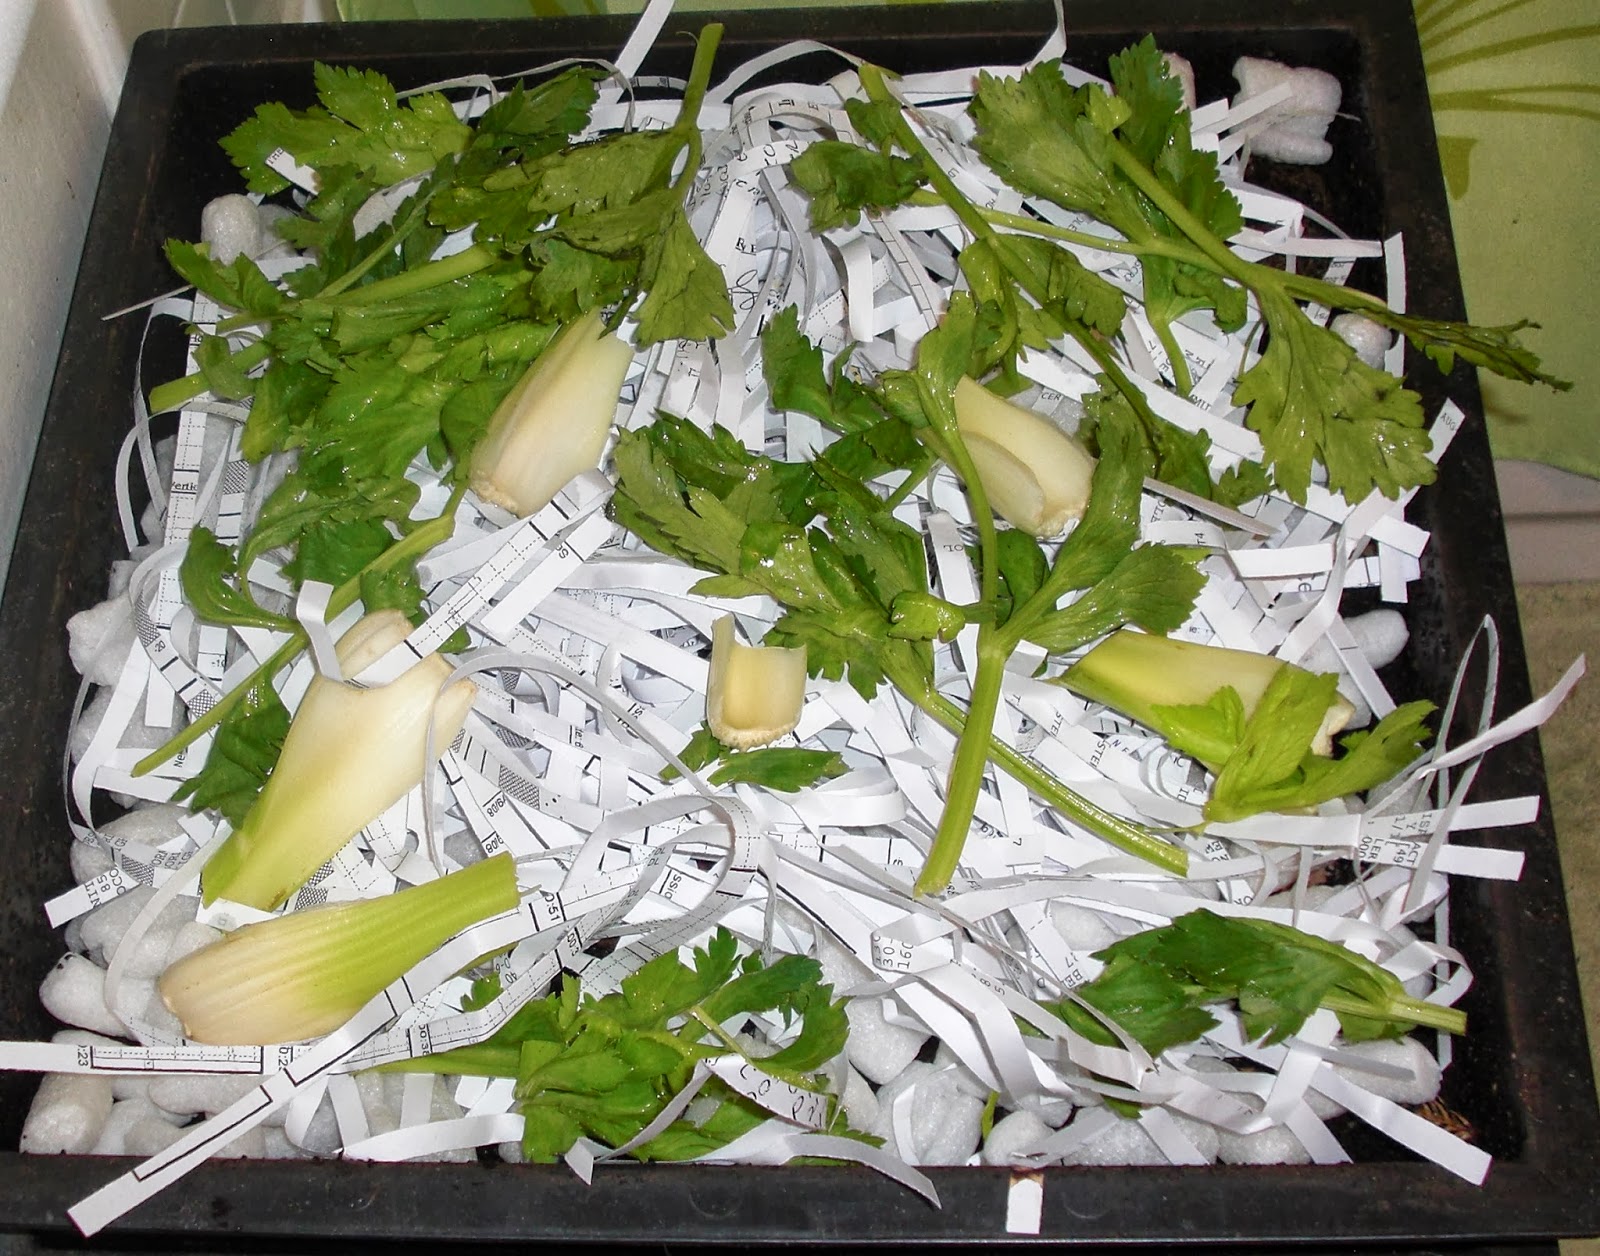
I added some cellulose packing peanuts, which are made from natural plant cellulose and dissolve in water. Normally I would put these in the composter outdoors, but I don't have regular access to it right now.
 
 
            Topped with shredded paper, so the worms can keep my documents really secure  :)

 
Topped the paper with some celery scraps. This may look dry, but in 8 years of worm wrangling I've rarely needed to add any water or mist a bin. The worm activity keeps the bin moisture plenty damp automatically-easy peasy!


Here's the original homemade bin, getting very full but functioning very well all the same.


 No worms on the lid. As this bin has become more full I notice fewer wanderers.
 
 
First with the cellulose peanuts...
 
 
...then the shredded paper...


...then the celery.


I really need to empty this bottom bin of the worm castings, then place it on the top bin to start the worms migrating upward and begin the casting harvest process over again. But I really want to get down to one bin, so I'll look for a new home for this big one. Any takers?


Sunday, April 21, 2013

New Addition to Worm Towers

When we last visited the worm condo, it was November of 2012 and I was just setting up. I've added another story since then, and now it's time to add a third level. As you can see here, the worms have been busy and there are scraps in various stages of consumption.
 
 
Worms are happily exploring on the lid as well. In my experience it's normal to have some wanderers like this, but not normal if you have a mass exodus from the bin with worms on the floor around the outside. Luckily they are still happy in here ~ ~ ~

 
First I added some coir (coconut husk) to reduce moisture. This may look dry now, but that won't last. I find it easier to have a wet bin than a dry one.

 
Then I set the next "floor" of the condo right on top of the coir.

 
Here's a "winter slaw" that I made with no dressing added that has gone past prime flavor, perfect for the worms...

 
...added a bag of spinach on top (I thought it was too old but it still looked edible-too late for me now :)

 
Topped it all with more coir...

 
...then found some old muskmelon that needed a home...

 
...topped with more coir to keep the gnats away...

 
...there! We have a three-story worm condo, filled with happy tenants.


I've found it very liberating to buy as much produce as I want with no concern for how fast I get it eaten-I have these guys to pick up my slack! They win, my plants win, I win! ~ ~ ~

Sunday, November 11, 2012

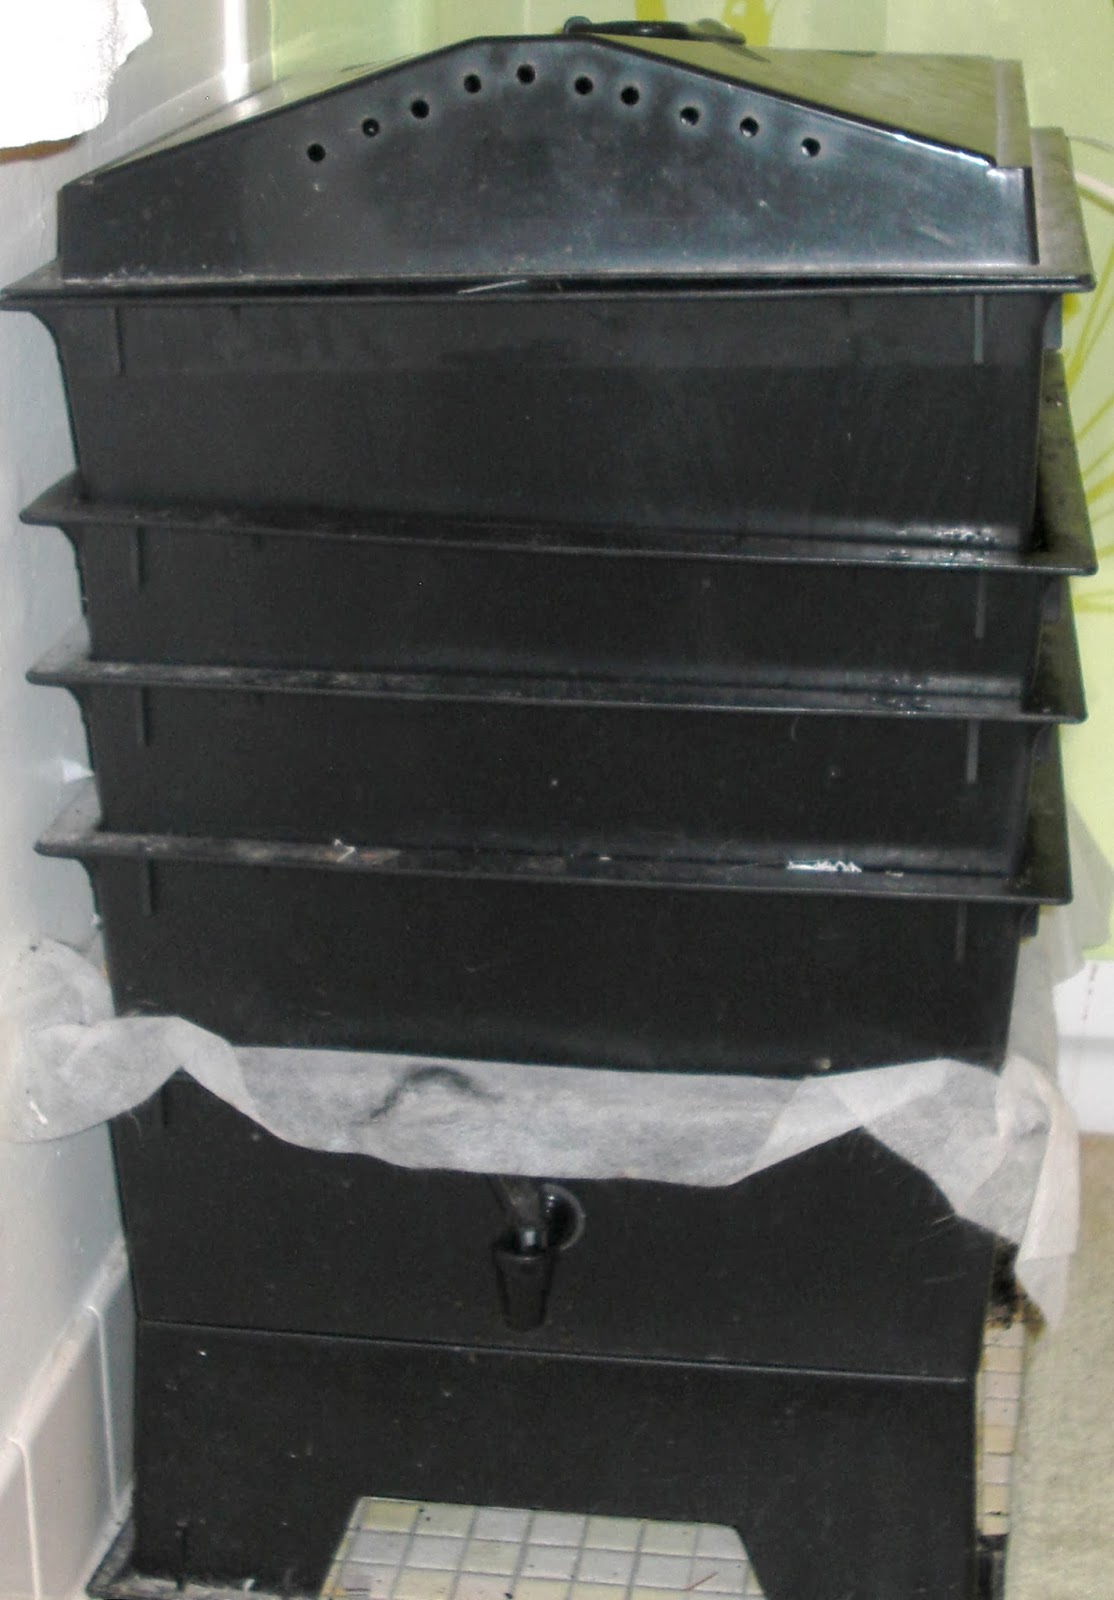
From Worm Farm to Worm Condo

Sometimes you just have to downsize, and that time has come for my worm bin. Hard to believe, but I've been raising worms in a bin that I made from plastic storage containers since 2006! The plans I used to build my original bin are here, and the posts I've done over the years are here. Since relocating to an apartment I am shorter on space, so I've decided to switch to a store-bought worm bin that's more of a "tower" in configuration. They run about $100 online, but after shopping around I got mine plus extra trays/levels for less than that (mostly on Ebay.)
 

Here's the setup, it even came with a brick of coir and this handy rake.

Cute worms on the lid (in case you forget what's inside :)  I like the shape of the lid too, my cats can't really lay on it comfortably (even if they do, it won't really push down on the worms like the lid with my old bin.)
It has this handy nozzle for draining off leachate, which is filtered by the cloth you see sticking out above. The cloth helps prevent worm drownings, too.
Hole size seems well-suited for worm migrations between levels...
...the holding area for leachate has an adequate capacity as well.
Okay, time for assembly now that my assistant Gizmo is here to help =^^=
For this first tray I decided to put down wet paper towel in the bottom to keep bedding and worms from falling through right away. The leachate should still drain through just fine....
...there!
Now I put down a layer of moist coir...
...then I turn to the homemade bin for some wormy tenants.
There they are! The moisture level in this old bin is too high, and that will be addressed later.
So I scooped out a layer of worms and their bedding from the old bin, about 2" deep. I tried to include plenty of un-eaten foodstuff too, so they have something to eat as my newer food scraps break down enough to be edible to the worms.


Then I add a sprinkling of a "fattening mix" of food that I created, based on suggestions from several worm forums. The mix I came up with is: 50% "flock raiser" pelleted chicken feed, 10% unbleached wheat flour, 10% powdered whole milk, 10% wheat germ, 10% crushed eggshells (rinsed and dried before crushing), and 10% corn meal. I would recommend drawing your own conclusions from some research, as I am not an expert or pro by any means.
Then I added another layer of coir....
...followed by some too-soft-to-use potatoes.
I put a few in the old bin too, along with some compostable cellulose packing peanuts. I'd never added these to a worm bin in the past, but I figured that being plant cellulose they can't do any harm (hopefully)!
My new bin will be housed in the bathroom for now, until I can figure out what I want to do with the old bin. I thought I might put it on "Freecycle", but I'm not sure how many more years are left in it. I may just take it back home and dismantle it there.
Then I added corn husks....
...coffee grounds....
....and more coir.
Let's see how the worms enjoy their new "digs" (pun intended :)